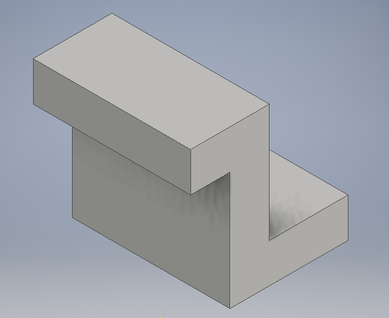
Inventor is a Software that is downloaded on all of the IDEA computers. In this software you are able to design and extrude shapes into 3D images. We used it to design all of our widgets that we drew the class before. Below is the process shown to create the widget that I 3D printed along with the designs of the other widgets that we drew.
|
|
Process:
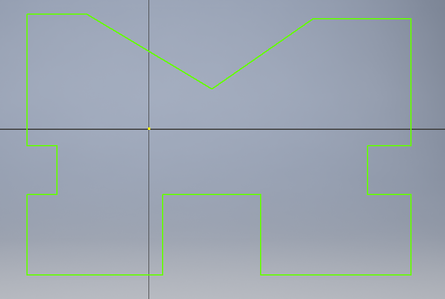
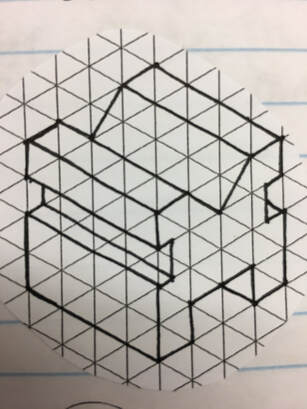
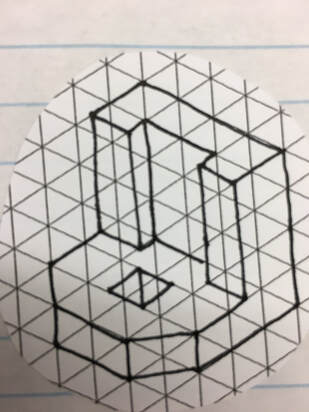
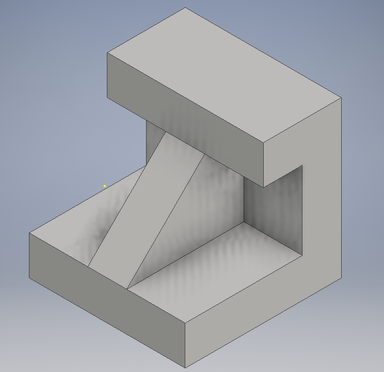
First I had to draw the outline of the face of the Widget so then I could easily edit it so look correct
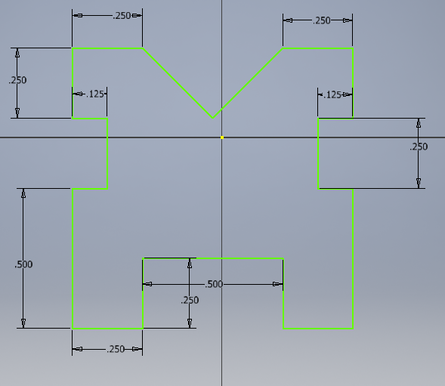
Then I used the dimension tool in order to resize all of the sides so then they matched the dimensions on the drawing.
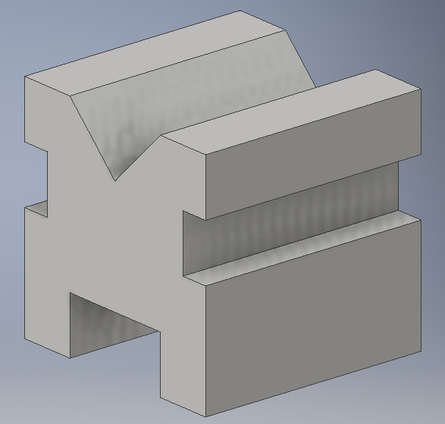
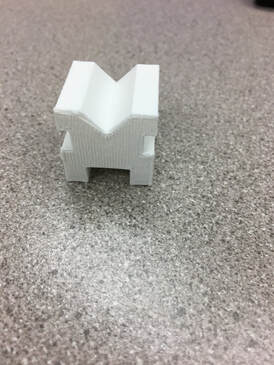
After that I used the extrude tool to expand the shape one inch from the face so then the shape was a one by one in inches.
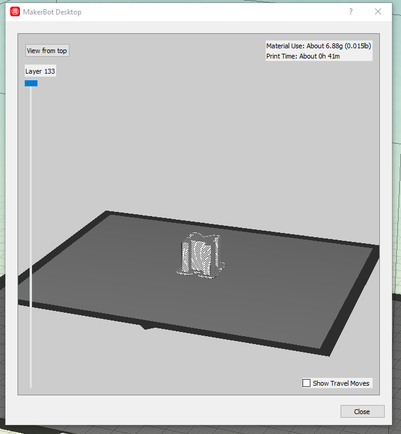
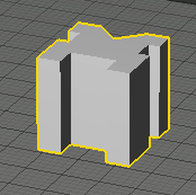
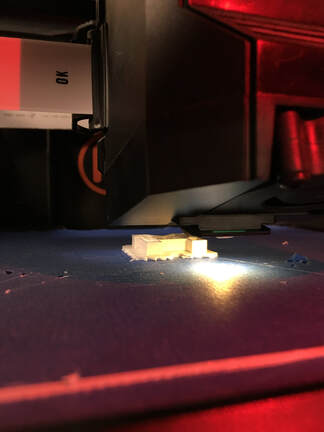
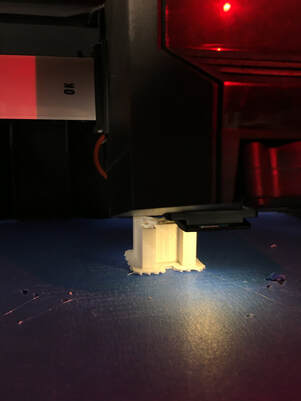
Then paste saved widget in maker bot. Make sure you do not need supports for any parts and increase the size by 1000% so then it is one cubic inch. make sure it is centered on the platformed as well as resting on it, not floating.

In the end I learned how to use the Inventor software to design and create 3D objects using different tools like extruding, dimensions, and trimming. I also learned how to use the 3D printer to print off cool things like these widgets. I am looking forward to other things that we do involving 3D printing and the use of inventor.
